
Click tracks: How? (Part Three)
The one about how your church might inexpensively and sustainably implement a click track into your worship services.

Previously I’ve explained why we might not want to use click tracks when we are playing music in the sung portion of our worship services, and why we might want to (I’m in favour of introducing them). I hope you’ve enjoyed the reasons I’ve provided, as well as some of the theological context informing the debate.
In this post, I’m proceeding on the basis that you’re now convinced to at least try out click tracks. We’re going to get quite practical here. The focus is going to be small to mid-sized churches: I will assume most large churches (whatever country you’re reading this from) will already have transitioned to using in-ear monitors and some form of click track. My hope is to introduce click implementation methods to worship pastors/music directors/drummers/sound technicians in churches which might otherwise dismiss them as too complicated, unnecessary, or expensive.
Let’s get to it.
The prequels: Wedges or In-Ears?
Before we think about click tracks we have to think about the kind of monitoring going on at your church. Monitoring is simply the way we hear how we sound as musicians. For most of the twentieth century, this occurred through the use of foldback monitor speakers facing the band. Obviously, this means the crowd/congregation can hear what comes out of those speakers, but the main goal is for the musicians to hear what they are playing. Some drummers would even have foldback monitor speakers (‘wedges’) to their left or right so they could hear the rest of the band.
But from 1995 onwards, when Jerry Harvey developed multi-driver earphones for Van Halen drummer Alex van Halen, in-ears really took off across the live music world (for more on the history of in-ears, see here). In-ears are now industry standard, although some bands and performers still prefer the more ‘live’ feel of wedges, subwoofers, and amplifiers on stage.
There are several benefits to running in-ears for your church music team if you are still using wedges - hearing protection, band tightness, the ability to introduce click tracks and music director cues (where one of the band members verbally ‘directs’ the band like an orchestra director: ‘Guys, chorus one coming up!’). But I’m not here to convince you to switch to in-ears. It’s just a reality that if you don’t have in-ears for the band member(s) you want to have a click track in their ear, you can’t run the click track. So that’s a decision you have to make - do you want to transition to in-ears or stay with your wedges? Again, while I prefer in-ears, this is something on which people can hold multiple opinions.
The ease of an in-ear setup
One reason holding churches back from implementing in-ears, despite the benefits, might be a perception that it costs too much or is too complicated. Let me show you why that isn’t the case.
It starts by understanding what an in-ear monitoring system does. All it does is transfer the wedge signal to a set of earphones. That’s it. The goal is the same: for the musician/singer to hear themselves and the rest of the band. But the signal is still moving as follows:
So if you currently have foldbacks, you can have in-ears.
But isn’t it expensive to convert from foldbacks to in-ears? Not necessarily. All you need is a mode to convert the foldback signal into a format your earphones can process. Most commonly, we do this using a headphone amplifier. A great one to use is the Behringer Powerplay P1 (note, I do not receive any commissions - this is all based on gear I own/have used previously). This is relatively inexpensive (in New Zealand they retail for about $165 new, but you can probably get them for cheaper secondhand), but if you have one or an equivalent unit, you can start converting your musicians or singers one by one to in-ear monitors. The advantage of an individual conversion setup like this is that the band member can control their own volume if the unit is beside them.
A multi-channel headphone amplifier achieves the same goal but keeps all the converted signals plugged into one unit. An example is the Behringer HA8000. The disadvantage of this type of setup is you need to run (probably) lengthy cables to each band member. So it probably works best with a smaller stage where there is less risk of tripping over cables. This unit retails for $389 new in New Zealand, but again secondhand prices may be much lower.
So there can be a cost to converting to in-ear monitors, but it’s a lot less than your elder board/lead pastor/management team might think. The more costly options are if you want to convert to wireless in-ear monitors or set up digital mixing stations on stage. These are more advanced and I would highly recommend them if your church is able and willing to spend the necessary funds. However, the essence of in-ear monitors doesn’t require those more expensive additions. At its core, if you have foldbacks you can have in-ears. So whether your desk is old or new, if you’re sending an auxiliary mix to the foldbacks on stage for the musicians to listen to themselves, all you need to do is purchase a system to convert one or more of those signals to earphones.
What earphones should you use? While you could use basic earphones/headphones, they lack the isolation (which is a huge part of the why: you want to protect your ears). There are many on the market. Generally, most musicians will only need universal in-ear monitors, as opposed to custom in-ear monitors (where an audiologist takes an impression of your ear and a company builds the earphones based on those moulds), which usually cost in the thousands. Universal in-ear monitors can be inexpensive: the KZ-ZST range (which I haven’t used before, but understand to be quite effective) is available from Aliexpress and Amazon for sub-$100 prices (and depending on the model you select, it could be considerably cheaper). I personally prefer the Shure SE425, but the entry level Shure SE215 will equally do the job. What you want is something that a) isolates; b) is designed for musicians; and c) is durable. For that reason I would be biased towards established brands like Audio-Technica, Shure, Ultimate Ears, and Sennheiser. But the bottom line is this: a set of in-ear monitors can be inexpensive but achieve much the same effect as a set many times more expensive.
It is usually the case that in a church setting musicians buy their own in-ears, simply because they likely won’t be shared! But we want to make serving the Lord as open to everyone as possible, and if cost is an issue then it may be possible to get budget for a base set of in-ears for everyone.
All up, I would say converting a standard 8-piece band (drums, electric guitar, keyboard, bass, acoustic guitar, three vocals) to in-ear monitors, including the purchase of in-ear monitors for everyone (an expense which can often be foregone if people purchase their own) shouldn’t set your church back more than AUD/NZD $2,000 in total. This obviously isn’t a guarantee, but it’s my understanding based on years of experience playing worship music in a mid-size and larger church, as well as playing conferences, camps, and recording live music. If you wanted to convert only a few of your team, the cost will obviously be less! And every worship director/pastor/sound technician will know what their individual church needs. I just wanted to dispel the notion that you need to spend heaps to convert your team.
The ease of a click track setup
Okay, you’ve converted to in-ears. You’re loving the protection your ears have from loud drums and guitar amps. But you’re wondering: doesn’t it cost heaps and take a lot of technology to get click tracks into them?
No it doesn’t. The guiding principle here is to think of the click track as another instrument in the band (credit to Chris Garcia of Influence Music for this framing). It’s just an instrument the band can hear but the congregation can’t. How would you get another instrument in?
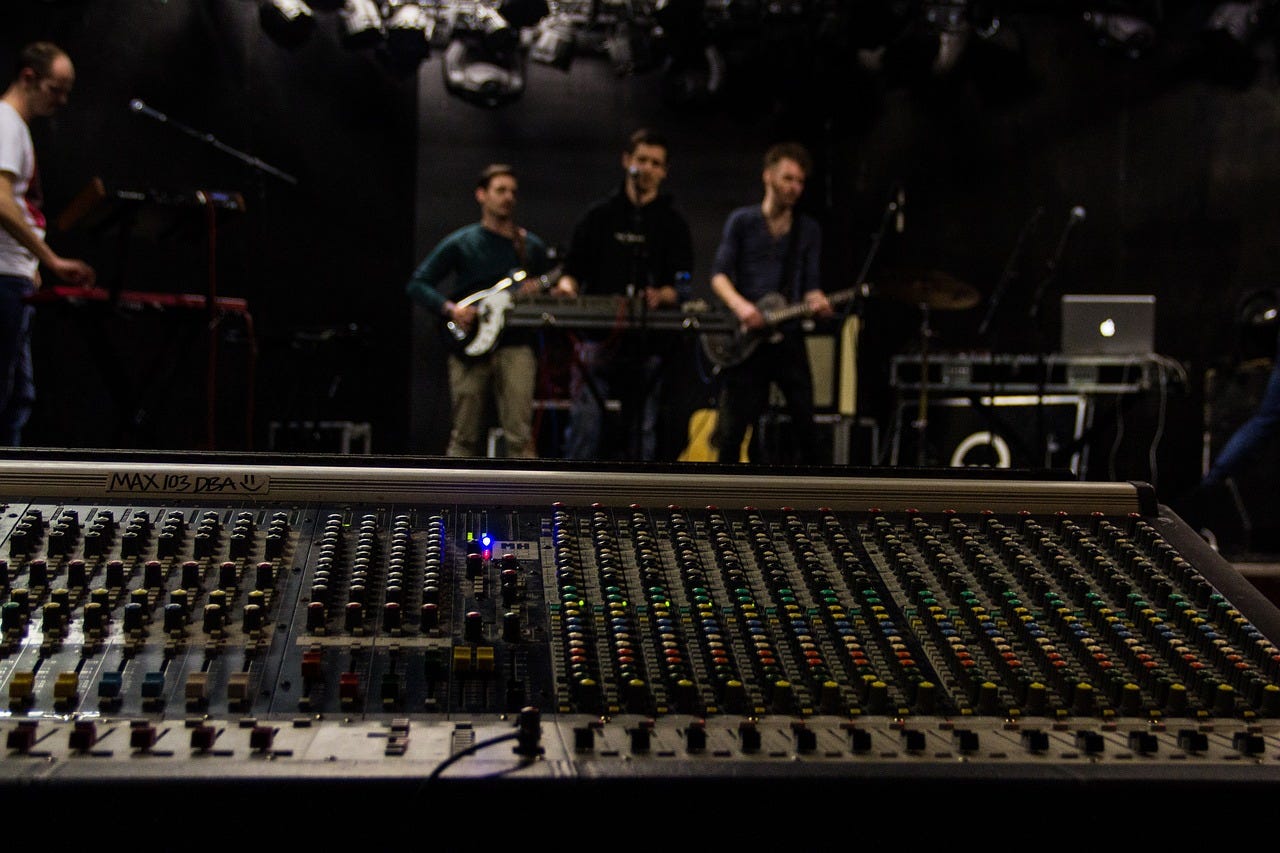
Well, you’re getting audio from Source A and sending it through your sound desk to the in-ear channels. So ultimately, all you need is a Direct Input box (which you likely already use for your acoustic guitars, keyboards, bass guitar and your non-amped electric guitars). You plug in the source of your click track into the DI box, and set up the desk to only send that signal to the in-ears. That’s it.
What, you might be asking, should we use as Source A? This can be as simple or complex as you want it to be. Larger churches often use tracks from sources like Multitracks, which are the different elements of live worship songs (‘stems’) like synths, keys, and electric guitar, run through software like Ableton Live off a MacBook. One of the band members will usually ‘trigger’ these tracks off the MacBook or a connected controller, and the tracks will have a click - the actual stems will come through the in-ears and the front of house speakers, but the click will only go through the in-ears. These tracks are often accompanied by guide cues: an automated voice counting in to sections of the song (Chorus, Verse, Intro) which only the musicians can hear. If you’d like to try this type of setup, I’d recommend watching videos from sources like Churchfront to familiarise yourself with them.
For small to mid-size churches, though, I would recommend not starting with tracks. I’m not a fan of tracks (for reasons I may go into another time), but fundamentally what you need is a click track. To that end, a phone with a metronome app (I use and love the paid version of Tempo) will do the job. This is a very cost-effective option that achieves our goal: getting a click track into your musicians’ ears. Simply plug the phone in with whatever adapter is needed to get it to a male-male 1/8” cable, use a 1/8” to 1/4” converter to plug the other end of the cable into the DI box, and away you go - as long as that signal is set to go into the in-ears only, you have a click track. You could also buy a bespoke drum machine/metronome like the Tama Rhythm Watch (I haven’t used one), but in practice the phone option is much more cost-effective. An old iPad will also suffice. You may also find a phone/tablet stand helpful on stage.
Purchasing a DI box, the relevant app (whether Tempo or another app) and the necessary cabling should not cost you beyond AUD/NZD $300, with the vast bulk of that on the DI box. Churches often have spare DI boxes, so that’s an expense that you might not have to incur.
This setup allows any of your musicians to trigger the click track. In practice the drummer is usually best-placed because it’s most important for them to be in time. But the keyboardist, bassist or other band members could also have it set up beside them.
Click tracks: an inexpensive proposal for your church elder board/lead pastor/management team
So all in all, while there are complex options for implementing an in-ear system for click tracks, I would say for most churches you really only need the basics:
A mechanism for converting foldback monitor signals to in-ears for musicians, and in-ear monitors if required, with relevant extension cabling if required (max AUD/NZD $2,000);
A click track source, which can usually be achieved with a phone and an app (assuming musicians have a phone, max AUD/NZD $10); and
A DI box and simple cabling to plug in the click track source, and a channel on your sound desk that plays only in the in-ear monitors (if not available, likely max AUD/NZD$300).
So that’s an entire in-ear + click track conversion for sub-AUD/NZD $2,500. Once again, this is an estimate! But the point is that it won’t cost your team the moon to get all the benefits we went through previously. Feel free to use this as a starting point to prepare a budget proposal for your elder board/lead pastor/management team!
In the next post, we’ll look at the practice of using a click track with your team (the ‘when’). We’ll look at bringing it in at rehearsals, how many band members should have it, how to dynamically use it during worship times, and when not to use it.